What makes the perfect lunch in the garden?
The perfect lunch in the garden feels relaxed, elegant and inviting all at once, without the host constantly moving between the kitchen and the table. The secret is not an overflowing table, but a clear rhythm and dishes that come together naturally at the right moment. Think of a beautiful arrival with a drink in hand, followed by a generous table filled with sharing starters, then one central main course and a vegetarian alternative. Dessert is welcome, but not essential when conversation and the summer evening naturally continue.
For a gathering of six to ten people, a lunch of around four hours works particularly well. Allow 45 to 60 minutes for the aperitif, 30 to 45 minutes for the starters, around an hour for the main course, and then time for coffee, dessert and lingering conversation. This creates room for spontaneity while still keeping the flow in hand. Set out cold dishes in good time, prepare warm components in batches and let one person know when it is time to sit down. For extra inspiration, recipes for home offers ideas for dishes that are easy to prepare in advance. A chef-prepared menu can also take some of the work off your hands, keeping the focus on the atmosphere.
- Choose an inviting beginning, a clear centrepiece and a relaxed ending.
- It is better to plan three outstanding starters than eight separate preparations.
- Build in some breathing room: outdoor lunches run more smoothly with ten extra minutes than with a sense of haste.
Planning the perfect lunch: guests, timing and menu
The perfect lunch is easiest to manage when the invitation, menu and preparations are coordinated at least a week in advance. When sending the invitation, ask straight away about allergies, vegetarian preferences, alcohol consumption and any children. For six to ten guests, a menu of three starters, one meat or fish dish, one vegetarian option, two side dishes and an optional dessert is both manageable and celebratory. There is plenty of choice without making the table feel cluttered.
Make a short production list the day before. Set out crockery, linen, glasses, ice packs and serving dishes. Finish dressings, dips, desserts and cold starters, slice the bread and label the serving dishes with the food they will hold. On the day itself, you should mainly need to chill, reheat and finish the dishes. Choose recipes that can be served at room temperature or gently reheated without losing quality. This makes an outdoor lunch far more forgiving than a menu consisting entirely of à la minute preparations.
A practical schedule might look like this: two days ahead, order anything you do not want to cook yourself; the day before, prepare everything that can be made in advance; and three hours before guests arrive, set the table and arrange the aperitif area. Start preparing warm components 60 minutes before the aperitif, but keep them separate for the time being. For children, simple additions such as bread, fruit or a mild side dish are enough. Elegance is not about complexity, but about a menu in which everyone feels welcome. For further planning help, consult the guide to quantities per person.
- 48 hours ahead: order supplies, check dietary requirements and note the serving sequence.
- 24 hours ahead: prepare cold components, dessert and the table styling.
- On the day: finish the dishes, reheat gently and keep at least a 30-minute buffer.
An elegant table setting for a summer garden lunch
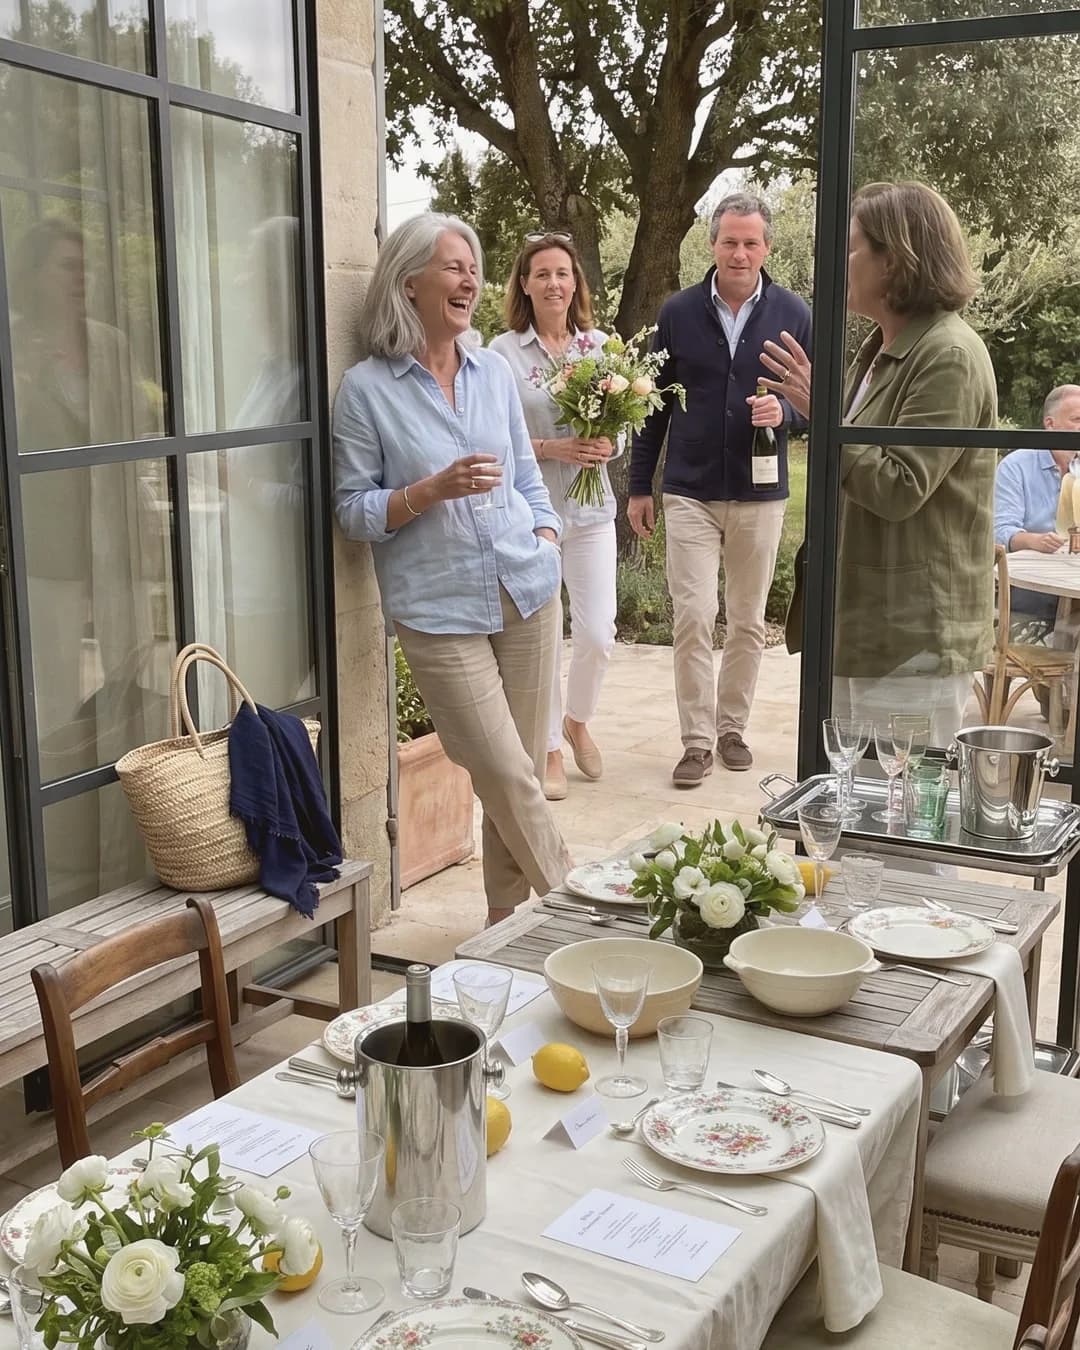
An elegant table setting for a garden lunch combines a long table, natural linen, ample space and low-profile decorations that do not interrupt conversation. Start with a neutral base, such as a linen table runner or placemats, then add colour with napkins, seasonal flowers or ceramics. Place the cutlery consistently, keep water glasses within easy reach and position wine glasses in the upper right of each place setting. Allow each guest at least one dinner plate, a small bread plate and a napkin that is both practical and decorative.
Low floral arrangements in small vases work better than one tall bouquet that blocks the view across the table. Choose flowers, branches or herbs that can withstand warmth, and secure the decorations against a light breeze. Use heavy candleholders, shatterproof glasses within children's reach and serving dishes with a generous rim. A parasol, pergola or shade sail is not only comfortable, but also prevents butter, sauces and desserts from warming too quickly.
Place cards bring structure to a larger table and can also add a personal touch. Write a short welcome message on each card, for example, or place a small sprig of rosemary beside every napkin. Keep the surface clear around the places where sharing dishes will be served. In inspiration for unique table decorations, you will find ideas for materials, colours and seasonal accents. The best table looks polished but remains practical: guests should be able to serve themselves, talk and set down their glasses with ease.
- Use low, wind-resistant decorations and keep the centre of the table functional.
- Place water, bread and napkins in several locations so no one has to reach.
- Create a separate, sheltered spot for chilled drinks and spare glasses.
The leisurely aperitif: the perfect start to your lunch
A leisurely aperitif of 45 to 60 minutes gives guests time to arrive, catch up and ease into the spirit of the lunch. Set up the aperitif area just beside the garden or terrace, so you do not immediately have to remain by the table. Place drinks on ice, fill glasses in advance where possible and present snacks on two or three platters rather than crowding everything onto one table. Guests will naturally move through the space, keeping the lunch informal.
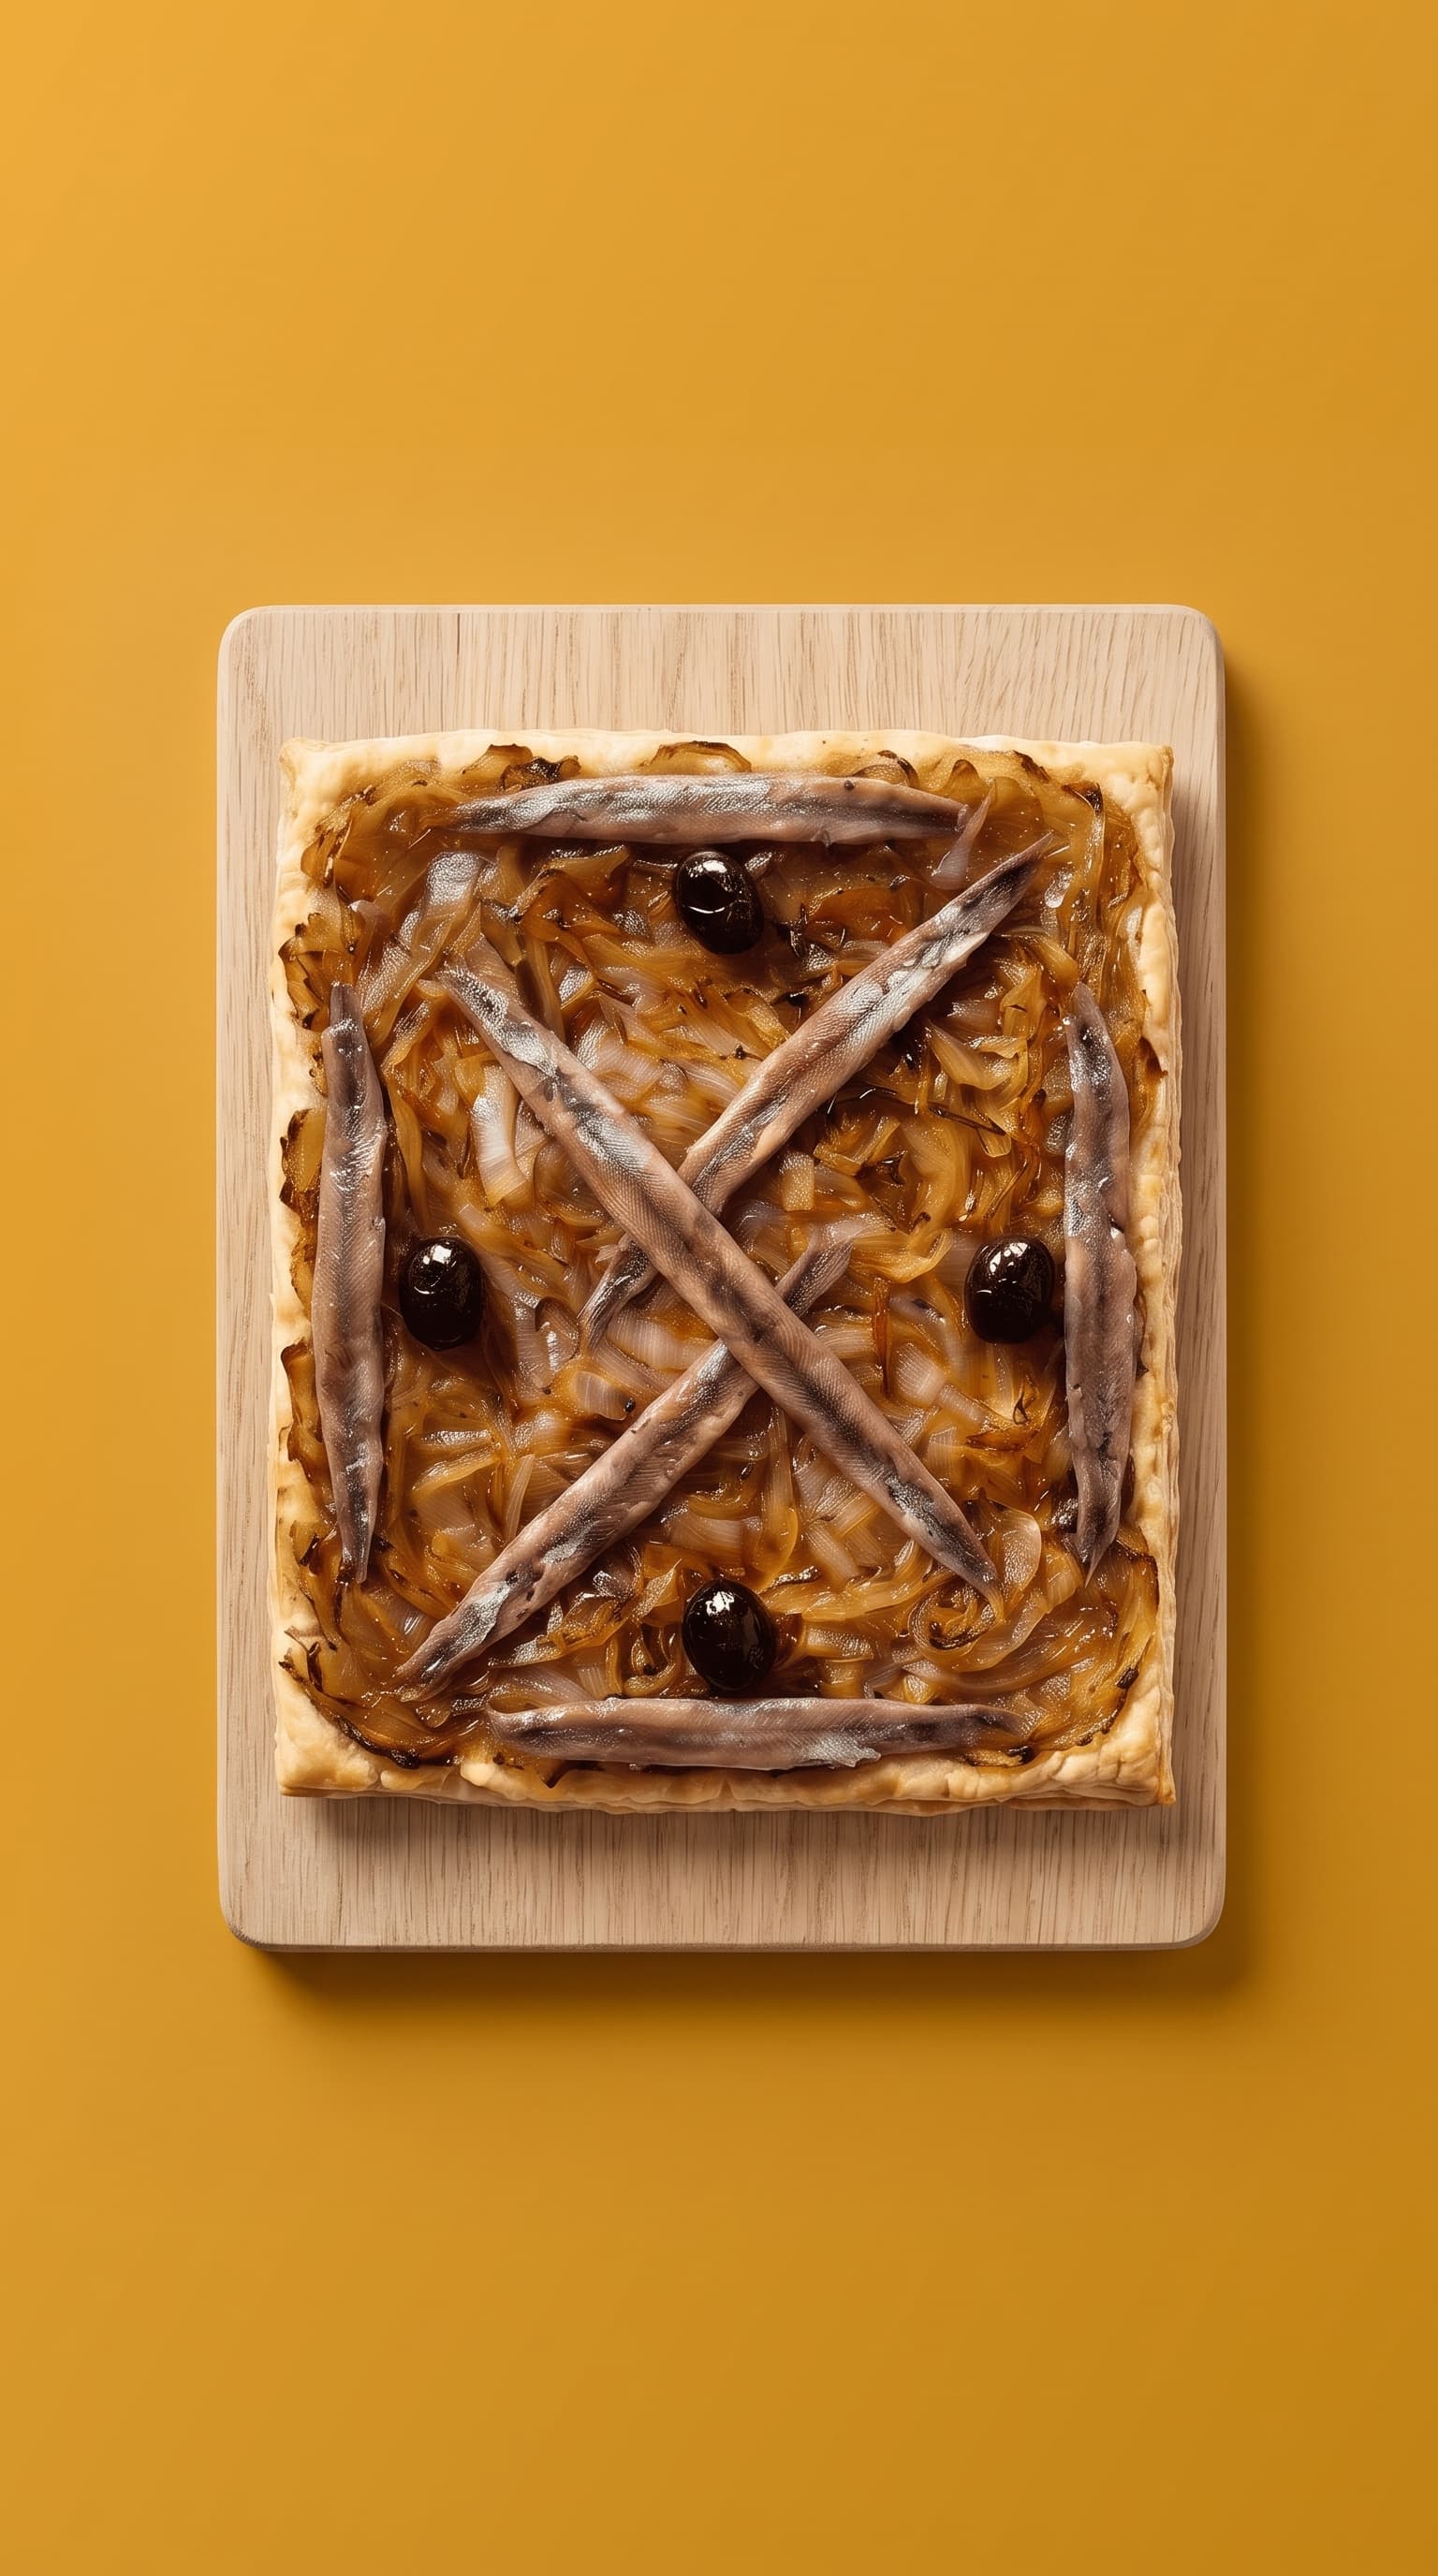
A good aperitif is all about contrast. Pair something crisp with a creamy dip, a salty bite with a fresh vegetable and a warm snack with a chilled preparation. Always include at least one vegetarian option and make ingredients clear for guests with allergies. Pissaladière, for example, works beautifully as a savoury, buttery tart that can be served at room temperature. Gochujang Hummus with Pickled Courgette adds a distinctive yet approachable note as a fresh, aromatic dip with bread or crackers.
Allow approximately six to eight small bites per person when the aperitif lasts an hour and is followed by a full lunch. If the aperitif is partly replacing the meal, increase that to ten to twelve. Serve warm snacks in two rounds so they do not cool down, giving guests something new to discover each time. After around 40 minutes, announce that the table will soon be ready. This small transition prevents the aperitif from running on indefinitely and gives everyone time for one last drink.
- Serve chilled bites first and bring out warm snacks in small rounds.
- Use small tongs, spoons and napkins so guests can help themselves easily.
- Keep one platter in reserve for a late top-up without kitchen stress.
Five aperitif choices to complement a summer lunch
Five different aperitif choices give guests variety without requiring a full cocktail bar. Choose drinks with differing levels of intensity, serve them chilled and offer a well-considered alcohol-free alternative alongside every alcoholic option. This allows everyone to share the same moment without making alcohol the sole focus.
A refreshing spritz is light, bitter and festive, especially with plenty of ice, a slice of orange and a large wine glass. Serve it with salted crackers, olives or a savoury tart. Champagne or crémant suits refined fish and cheese bites; keep the bottle well chilled and use slender glasses. A light white wine, such as a dry Sauvignon Blanc or Vermentino, pairs well with fresh vegetables, citrus and seafood. For non-drinkers, offer an alcohol-free botanical drink with tonic, cucumber and mint.
The fifth choice is homemade lemonade with lemon, herbs and, if desired, elderflower. It is refreshing, family-friendly and easy to prepare in advance in a pitcher. Serve it in a beautiful glass with ice, but chill the lemonade first so the ice does not melt immediately. In warm weather, smaller servings and regular refills are better than large glasses left standing for too long. An alcohol-free spritz made with a bitter citrus aperitif, sparkling water and an orange peel can offer the same elegant look as the classic version. The result is an aperitif menu that invites people to taste and explore, while remaining practical for the host.
- Spritz: ice, citrus and a large glass, with salty and crisp bites.
- Crémant or champagne: well chilled alongside fish, burrata and refined bites.
- White wine: serve chilled with light vegetable dishes and fresh starters.
- Botanical drink: alcohol-free with tonic, cucumber, mint and citrus.
- Homemade lemonade: with lemon, herbs and sparkling water for all ages.
Sharing starters: a family-style spread
A family-style spread works best with three to five starters that vary in colour, texture, temperature and flavour. For example, combine a fresh salad, a roasted vegetable, a fish preparation, a dip and good bread. This is varied enough for a celebratory first course, yet compact enough to keep the table orderly. Place large platters at different points so guests can help themselves easily without having to pass the same dish around repeatedly.
Think in contrasts: creamy burrata beside crisp bread, sweet roasted vegetables alongside something briny, and a fresh fish preparation next to a savoury tart. Courgette Tart with Preserved Lemon and Mint brings together soft cheese, fresh courgette and citrus and can be served at room temperature. For a lighter, lively touch, Sea Bass Gravlax in Ceviche Style is ideal for warm days, with citrus, ginger and herbs.
As a guideline, allow around 150 to 200 grams of starters per person for a full lunch, divided between the different platters. For dips, allow approximately 50 to 75 grams per person, and two to three generous pieces of bread. Chef-cooked dishes help create a professional finish without requiring every element to be made in your own kitchen. Take chilled preparations out of the refrigerator in good time, finish with herbs or oil and present them on your own ceramics. The meal feels personal while the preparation remains manageable.
- Allow three starters for six guests, and four or five for a larger gathering.
- Use one large platter per dish and avoid lots of small bowls.
- Place a card beside dishes containing fish, nuts, dairy or other allergens.
Serving family-style main courses
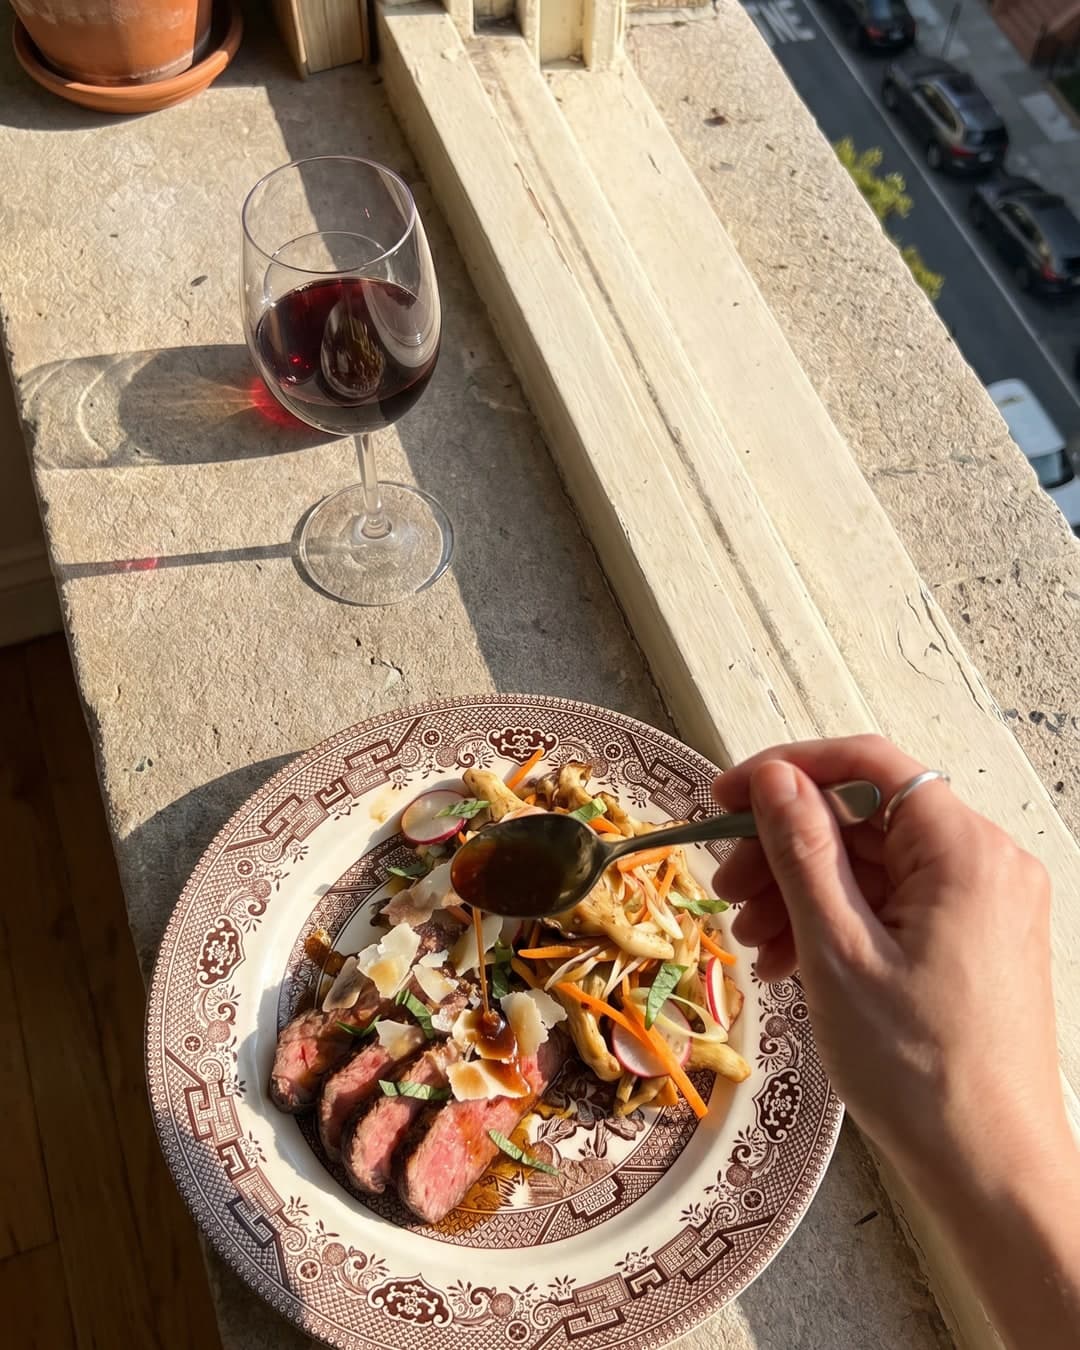
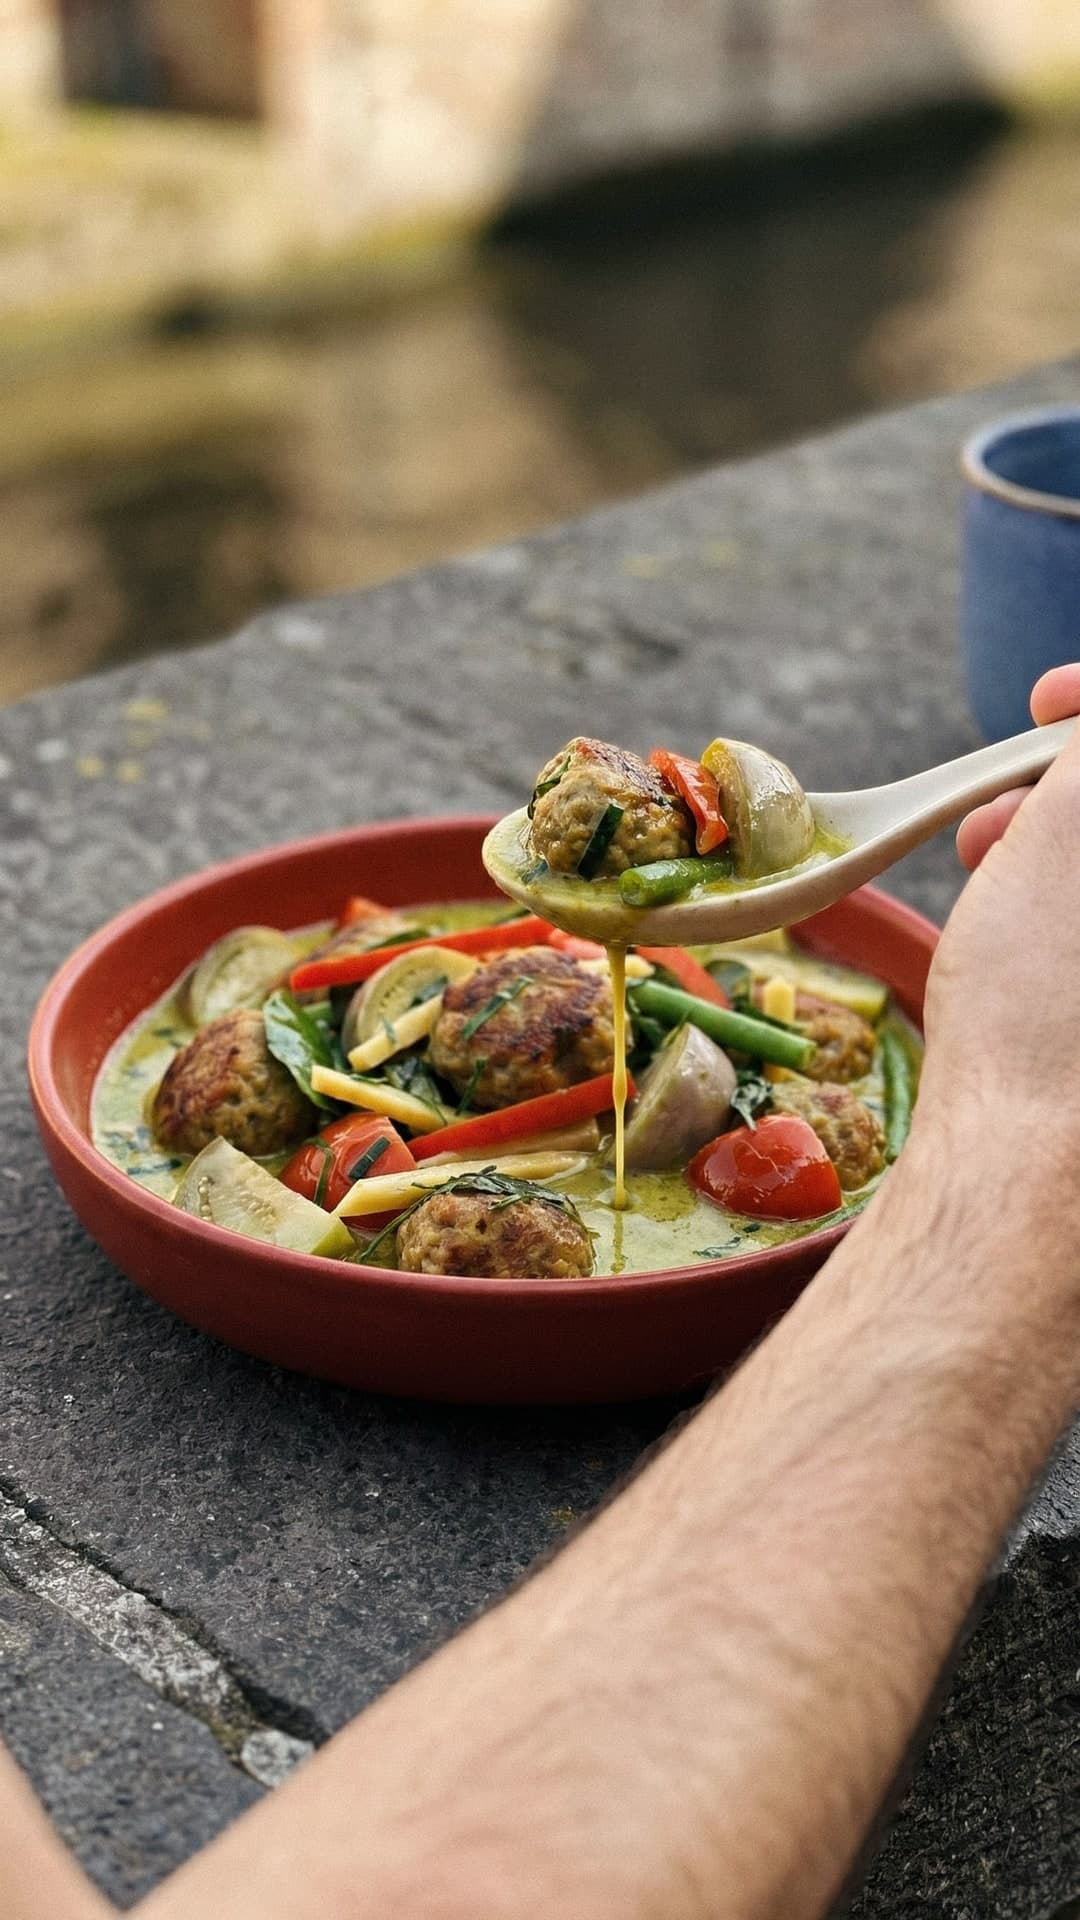
Ideally, a family-style main course consists of one central dish, one clear vegetarian option and two side dishes that everyone can easily share. For four people, a shared roast chicken or leg of lamb is often enough as the centrepiece; for larger groups, combine several platters rather than preparing one enormous dish. Carve meat in advance, pour sauces into separate jugs and finish with herbs just before serving. This looks polished and prevents guests from waiting at the table.
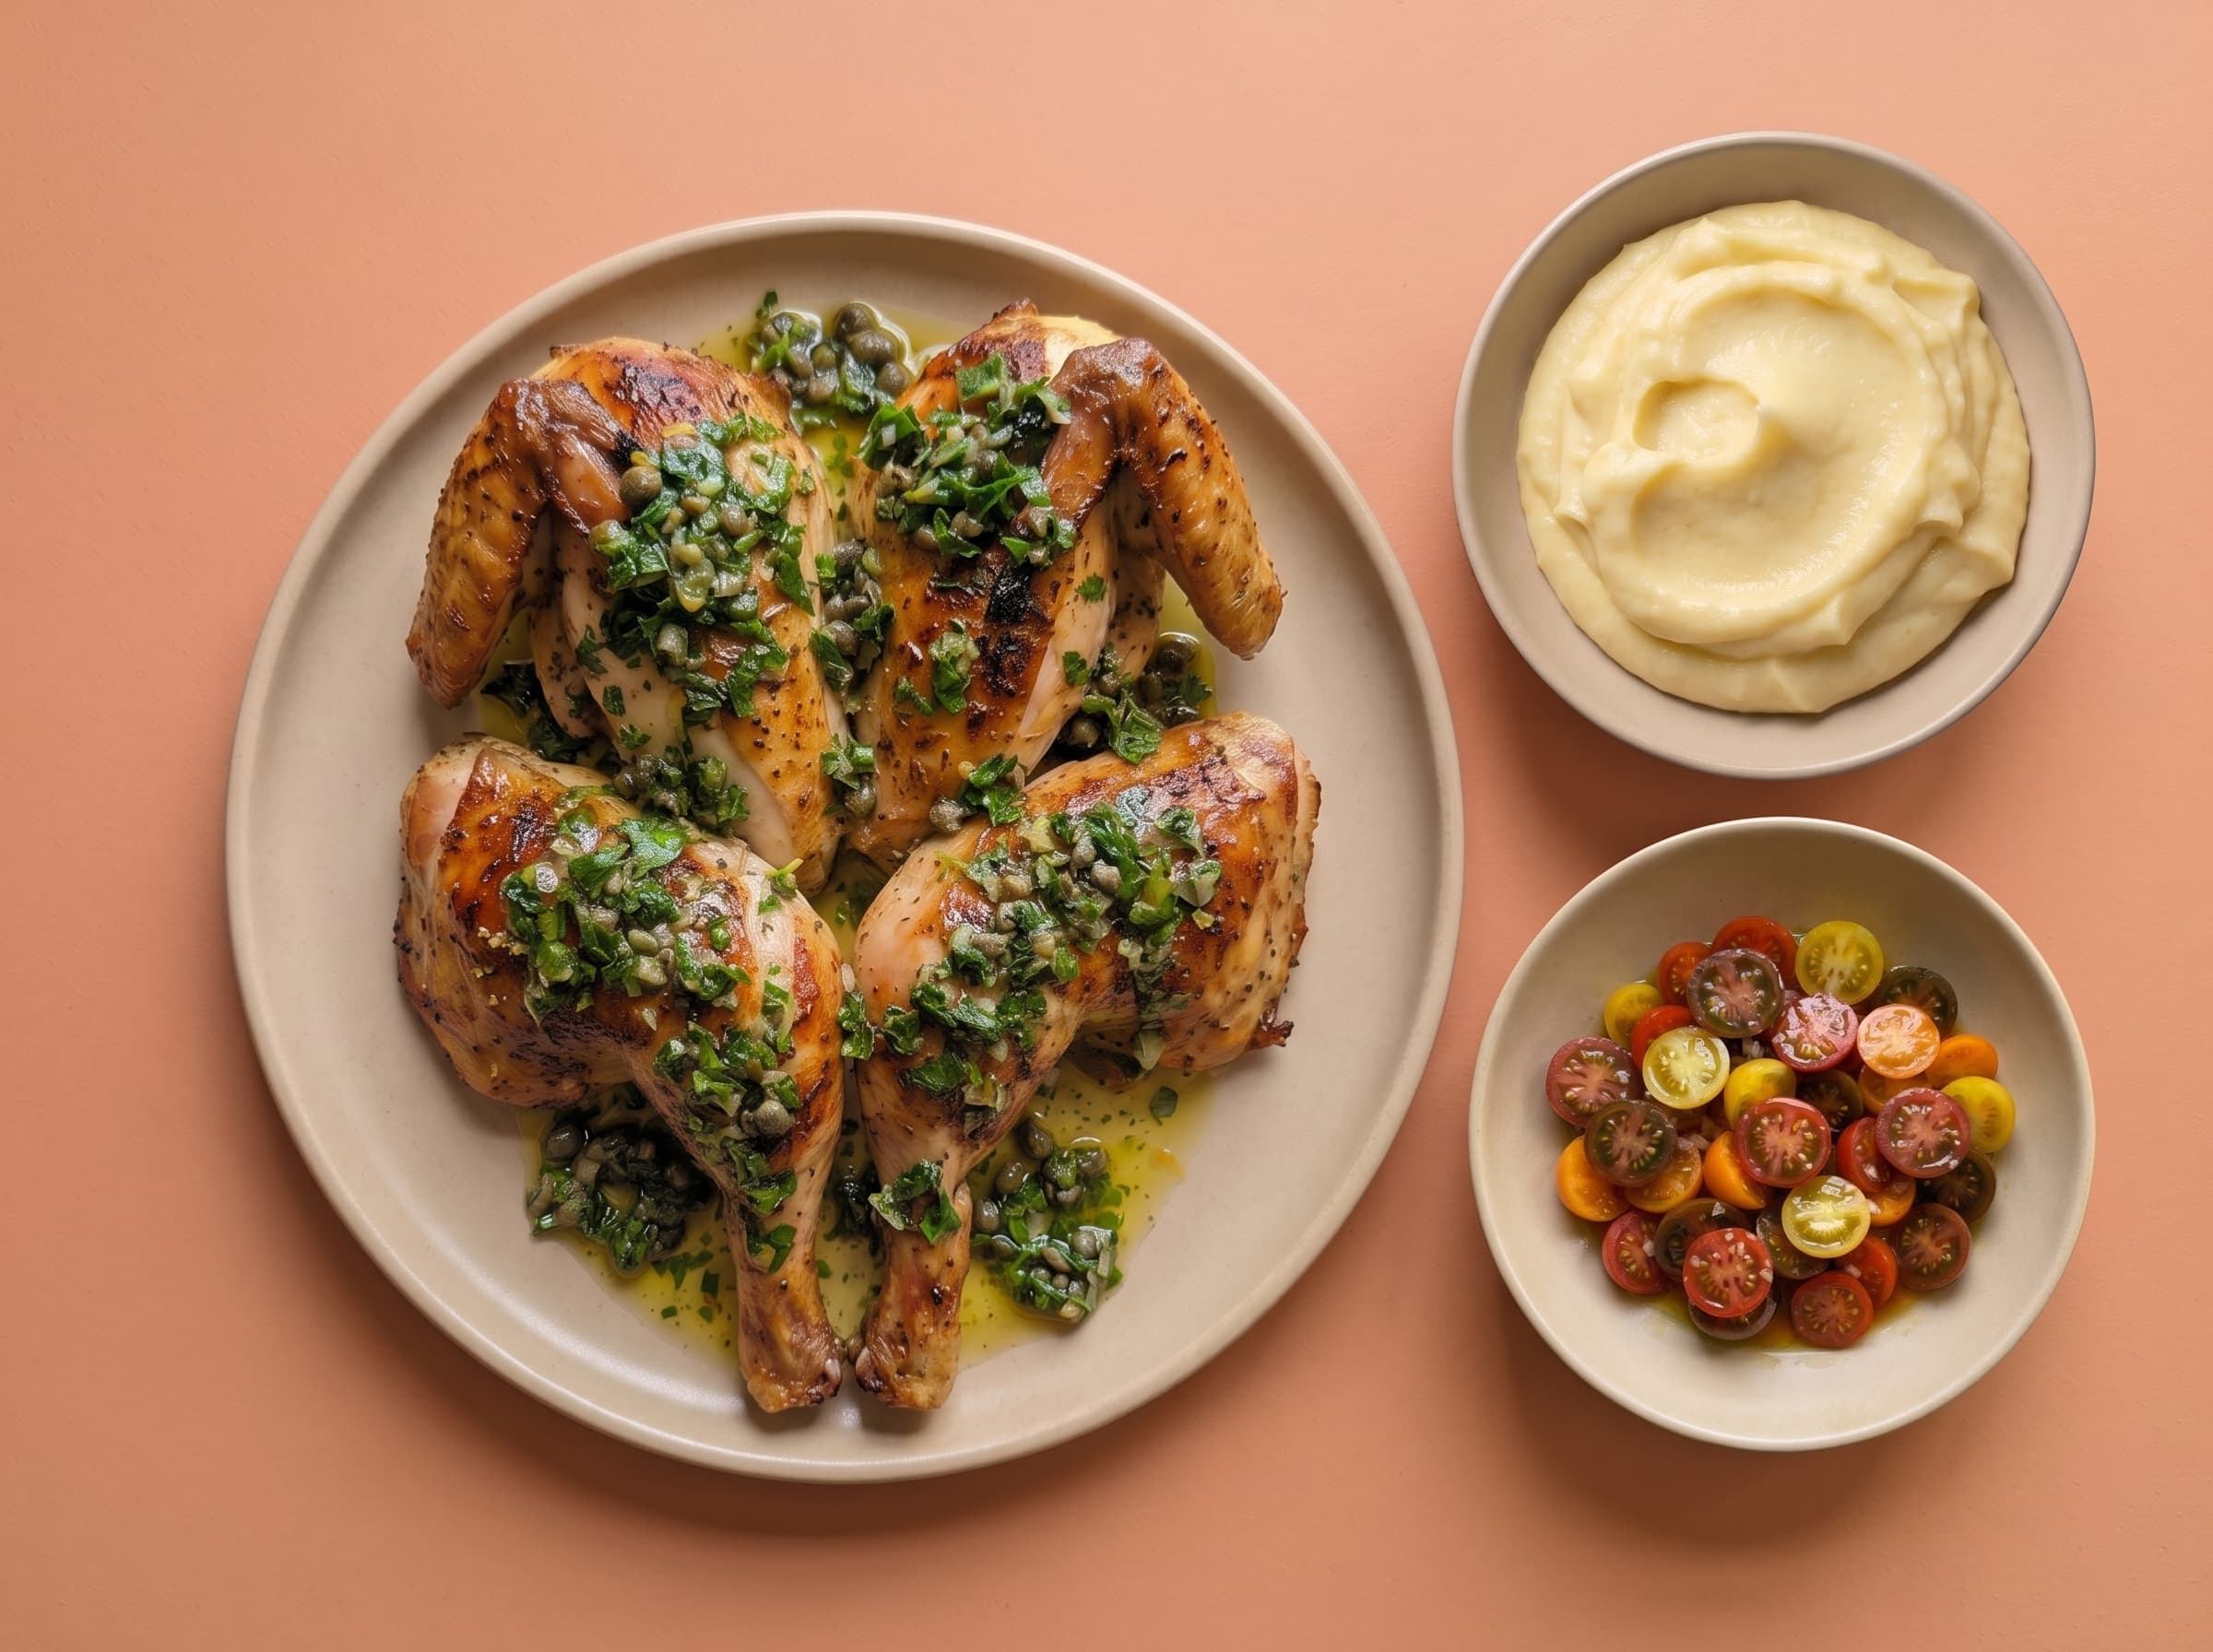
Roasted Herb Chicken with Salsa Verde is practical for a summer lunch because the chicken is already divided into four pieces and the fresh salsa can be added separately. For a more festive centrepiece, choose Herb-Crusted Gigot of Lamb with Mint, with mint velouté and apricot chutney providing flavourful counterpoints. At home, both dishes mainly require gentle reheating and attractive presentation.
Allow approximately 180 to 220 grams of meat or fish per adult when starters and side dishes are included. For a vegetarian option, allow around 200 grams per person who will be eating it. Choose side dishes with contrasting textures, such as potatoes, a green vegetable and a fresh tomato salad. Keep warm platters covered until the last moment and place them on trivets. This keeps the host at the table while guests can compose their own plates.
- Place the central dish on a low, sturdy serving platter in the middle.
- Serve sauces separately so texture and temperature are better preserved.
- For every four guests, provide at least one large side dish and one serving spoon.
Dessert, drinks and a relaxed end to the lunch
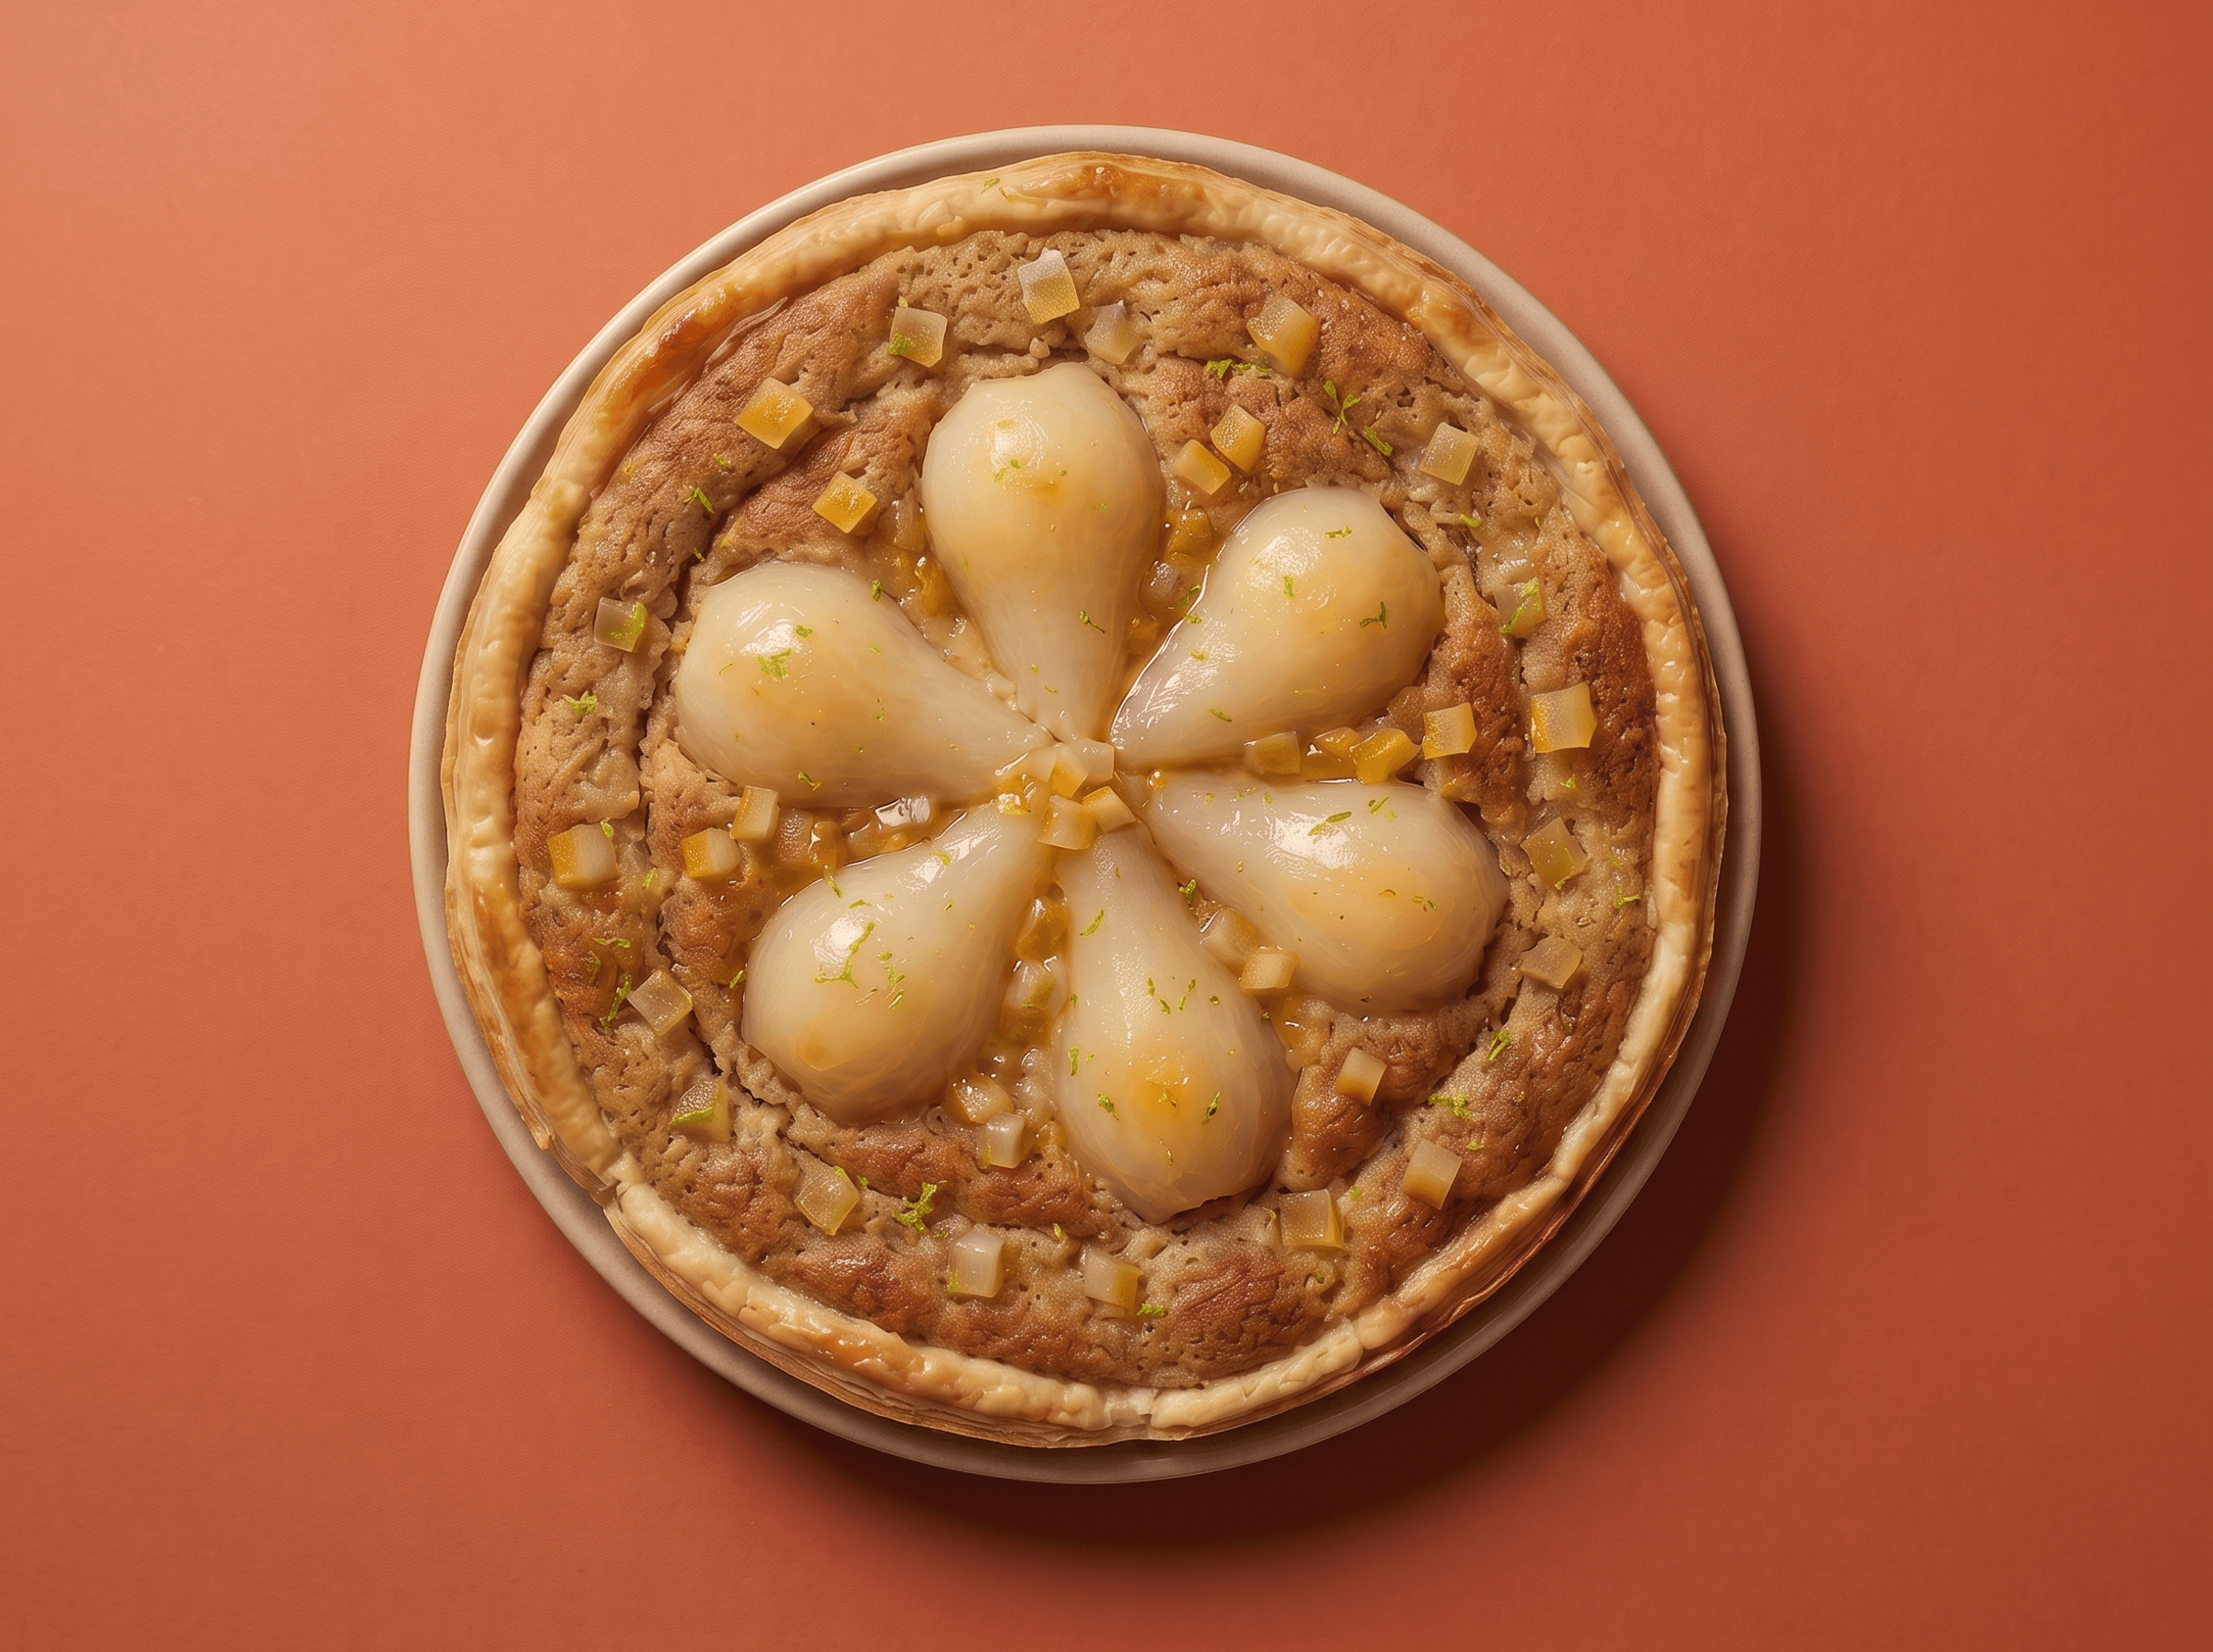
A summer dessert works best when it is light, fresh and prepared in advance, such as fruit, ice cream, a lemon tart or small sweet bites with coffee. Choose one dessert that can be served in beautiful slices rather than several preparations that demand further attention. Ginger and Pear Almond Tart offers an elegant combination of pear, almond and fresh ginger. For a lighter finish, Lemon Tart on a Madeleine Base is refreshing and easy to serve chilled.
After dessert, you can gently guide the group towards a lounge area. Set coffee and tea on a separate table, add a digestif or a final alcohol-free herbal drink if desired, and keep water available. How to organise the perfect brunch offers further inspiration for sweet dishes, drink pairings and a relaxed transition into a late-lunch mood.
Tidy discreetly by placing a rubbish bin, a crate for empty bottles and a washing-up bowl out of sight in advance. First collect only what guests no longer need and leave the main platters in place for a little longer. A lunch does not end when the plate is empty, but when the conversation naturally draws to a close. By organising the clearing-up in the background, you keep the atmosphere welcoming until the final glass.
- Choose one dessert that can be prepared in advance and portioned easily.
- Move coffee, tea and drinks to a separate area to clear the table.
- Keep water, napkins and a small waste solution available in the lounge area too.