Tempura Stuffed Zucchini Blossoms with Whipped Goat Cheese
1 hr 30 min · Medium · Serves 4
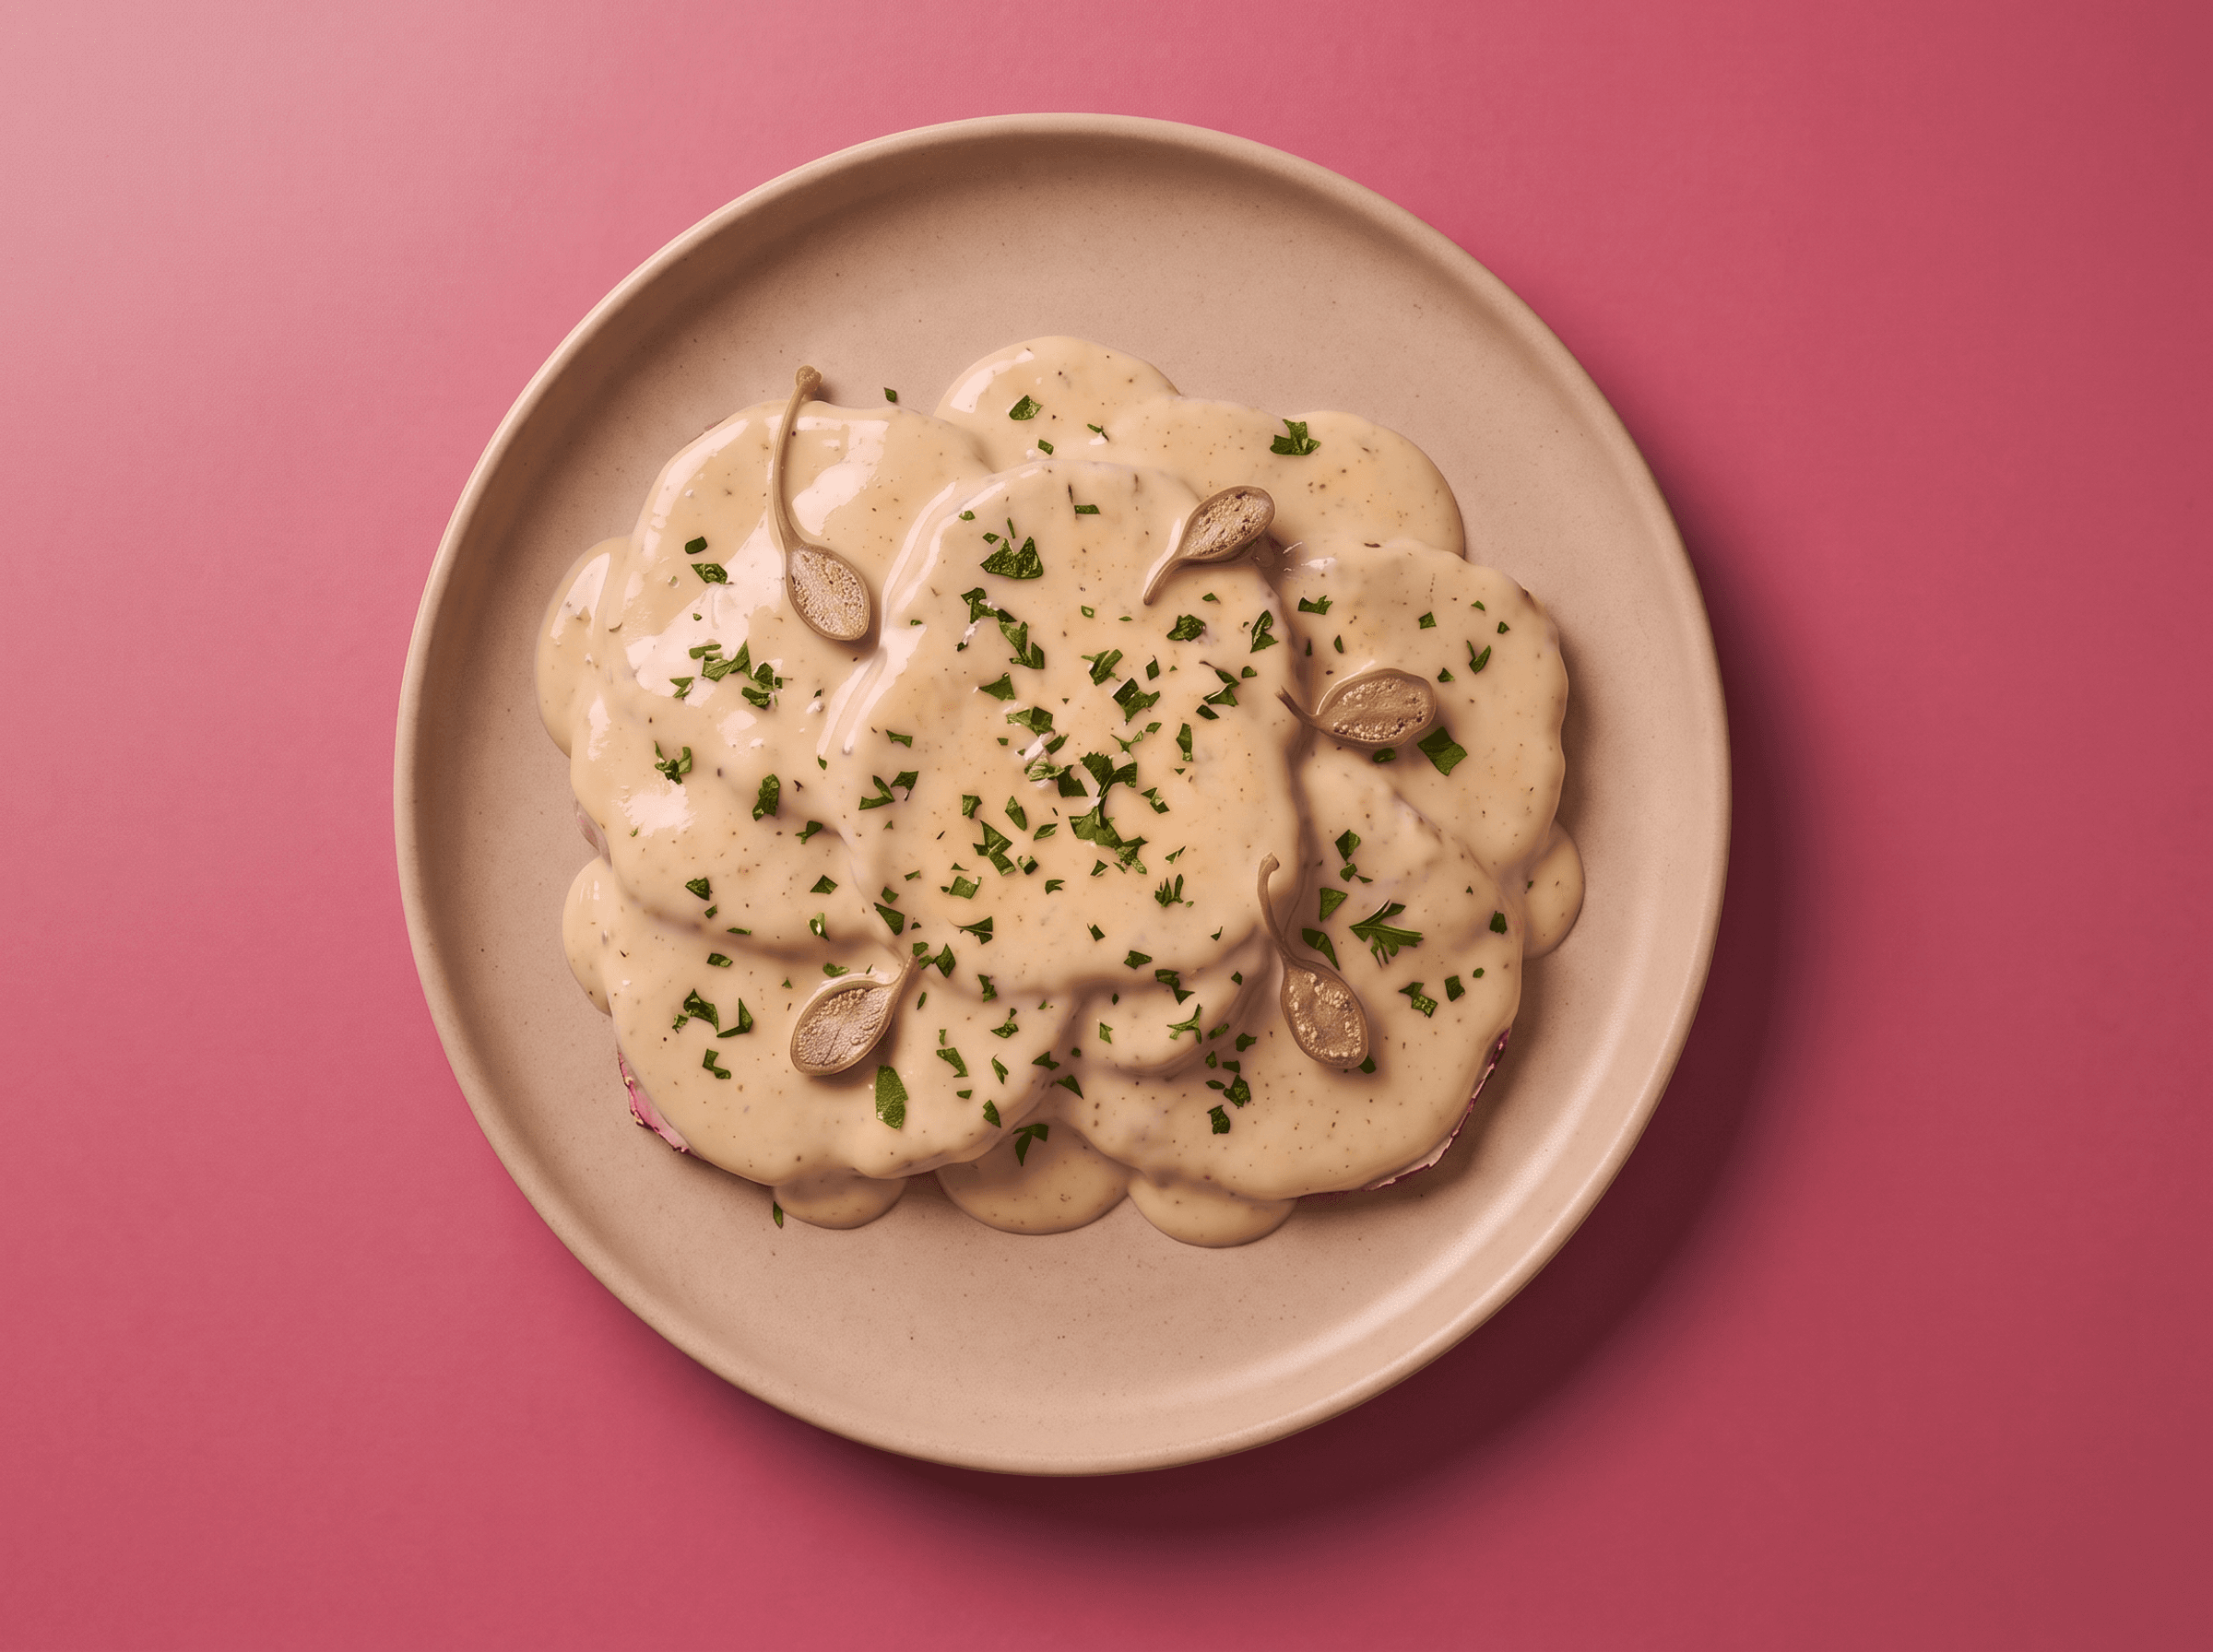 From our menuVitello Tonnato€17.50 · Made by us, delivered chilled.
This stuffed zucchini blossoms recipe fills tender squash flowers with lemony whipped goat cheese, then fries them in a light Japanese tempura batter for extra crunch. A chilled roasted yellow pepper coulis and vivid basil oil finish the plate. It takes about 90 minutes total, mostly hands-off chilling, and serves 4 as an elegant starter.
Recipe by Christophe Rammant
Cordon Bleu Paris alumni - Two star Michelin kitchen experience
What Makes This Tempura Coating Lighter Than a Regular Batter?
Professional culinary team know that rice flour and cornstarch contain far less gluten than regular wheat flour. With less gluten to develop, the batter stays lacy and shatter-crisp instead of turning bready, even after a hot dip in oil.
Classical French technique uses gentle sweating, not browning, to coax sweetness from vegetables. Cooking the shallot low and slow in butter draws out its natural sugars without adding the bitter, charred notes that high heat would create in the coulis.
Food science shows that chilling and quick blanching both protect delicate textures and colors. Chilling firms the goat cheese so it survives the fryer intact, while a 5-second basil blanch locks in bright green color before it has a chance to fade.
The weekly recipe note
Enjoyed this recipe? Get the next one first.
One new recipe each week from Christophe: global flavor, French technique, and practical home-cook timing.
By signing up, you agree to receive emails from Mr. Saucy.
Ingredients
Recipe yields 4 servings
For the Courgette Blossoms
| Amount | Ingredient | Notes |
|---|---|---|
| 180 g (about 12 blossoms) | Courgette (zucchini) blossoms, stamens removed | 3 per person; choose firm, unblemished flowers with 2-3cm baby courgette still attached if possible |
For the Whipped Goat Cheese Filling
| Amount | Ingredient | Notes |
|---|---|---|
| 200 g (about 7 oz) | Fresh goat cheese (chèvre frais, soft log-style) | room temperature, for easy whipping |
| 40 g (about 3 tablespoons) | Heavy cream (35% fat) | cold, helps lighten the whip without loosening it too much |
| 4 g | Lemon zest | from about 1.5 lemons, finely grated, no pith |
| 6 g (about 2 tablespoons chopped) | Fresh chives, finely chopped | — |
| 4 g (about 1 tablespoon chopped) | Fresh chervil or tarragon, finely chopped | — |
| 3 g (about 1/2 teaspoon) | Fine sea salt | for the filling |
| 1 g (a small pinch) | White pepper | sharpens the tang of the cheese without visible black specks |
For the Tempura Batter
| Amount | Ingredient | Notes |
|---|---|---|
| 80 g (about 2/3 cup) | Rice flour | low in gluten for maximum crispness |
| 40 g (about 1/3 cup) | Cornstarch | helps the batter shatter rather than turn chewy |
| 18 g (1 large yolk) | Egg yolk | classic tempura enrichment |
| 160 g (about 2/3 cup) | Ice-cold sparkling water | keep in the fridge until the last second; carbonation and cold temperature keep the batter light |
| 2 g (about 1/3 teaspoon) | Fine sea salt | for the batter |
For Frying
| Amount | Ingredient | Notes |
|---|---|---|
| 1000 g (about 4-5 cm depth in a wide pot or wok) | Neutral frying oil (sunflower or grapeseed) | — |
For the Roasted Yellow Pepper Coulis
| Amount | Ingredient | Notes |
|---|---|---|
| 600 g (about 4 large peppers) | Yellow bell peppers | for roasting |
| 40 g (1 medium shallot) | Shallot, finely chopped | — |
| 20 g (about 1.5 tablespoons) | Unsalted butter | for sweating the shallot |
| 100 g (about 1/3 cup) | Vegetable or light chicken stock | for adjusting coulis consistency |
| 8 g (about 1.5 teaspoons) | Sherry vinegar | a small dash to lift the sweetness of the peppers |
| 3 g (about 1/2 teaspoon) | Fine sea salt | for the coulis |
For the Basil Oil and Garnish
| Amount | Ingredient | Notes |
|---|---|---|
| 40 g (about 1 cup leaves) | Fresh basil leaves | for the basil oil |
| 100 g (about 1/3 cup plus 1 tablespoon) | Extra virgin olive oil | mild, so it doesn't overpower the basil |
| 40 g (about 1/4 cup) | Pine nuts | toasted just before plating |
Instructions
Prep the Filling and Fill the Blossoms
- 1
Whip the Goat Cheese Filling (Add Air, Not Weight)
Beat the room-temperature goat cheese with a paddle or hand mixer until smooth and airy, about 2 minutes. Whipping air into the cheese now keeps the filling light instead of dense once it's fried inside the crisp shell. Fold in the cold heavy cream, lemon zest, chives, chervil (or tarragon), fine sea salt, and white pepper until just combined.
- 2
Pipe and Twist the Blossoms Closed
Spoon the filling into a piping bag (or a zip-top bag with the corner snipped) and pipe a scant tablespoon into each blossom. Gently twist the petal tips closed like a small parcel. Piping keeps every portion the same size, so the delicate petals don't burst open in the hot oil from overfilling.
- 3
Chill to Set the Filling (Don't Skip This)
Cover and refrigerate the filled blossoms for at least 1 hour, and up to 24 hours ahead. Chilling firms the soft cheese so it holds its shape in the fryer instead of leaking out through the seams.
Make the Coulis and Basil Oil
- 4
Char the Peppers for Deep Sweetness
Roast the whole yellow peppers under a hot broiler or over an open flame, turning often, until the skins blister and turn black all over. Rest them in a covered bowl for 10 minutes; the trapped steam loosens the skins for easy peeling while the residual heat deepens the natural sugars.
- 5
Sweat the Shallot (Sweetness Without Bitterness)
Peel, seed, and roughly chop the roasted peppers. Melt the butter in a pan over low heat and sweat the shallot gently until soft and translucent but not browned, about 4-5 minutes. This classical French sweating technique pulls out sweetness without adding the bitter, charred edge that browning would bring.
- 6
Simmer, Blend, and Strain for a Silky Coulis
Add the roasted peppers and stock to the shallots and simmer gently for 5 minutes. Blend until completely smooth, then pass through a fine sieve. Straining catches any fibrous bits a blender alone would leave behind, giving you that restaurant-style silky texture.
- 7
Season and Chill the Coulis
Stir in the sherry vinegar and salt to taste - the acidity balances the natural sweetness of the peppers. Chill thoroughly, since this coulis is meant to be served cold or at room temperature as a refreshing contrast to the hot, crisp blossoms.
- 8
Flash-Blanch the Basil for Vivid Color
Drop the basil leaves into boiling water for just 5 seconds, then plunge them immediately into ice water. This quick blanch locks in the bright green color and stops the leaves from turning a dull khaki as they oxidize.
- 9
Blend and Strain the Basil Oil
Squeeze the blanched basil dry, then blend it with the olive oil until smooth. Strain through a fine sieve or cheesecloth for a clean, translucent oil rather than a cloudy puree.
- 10
Toast the Pine Nuts (Watch Them Closely)
Toast the pine nuts in a dry pan over medium heat, shaking constantly, until golden and fragrant, about 3-4 minutes. Their high oil content means they can go from golden to burnt in seconds, so don't walk away.
Fry the Blossoms and Plate
- 11
Heat the Oil to the Right Temperature
Just before serving, heat the frying oil to 170-175°C / 340-345°F - a cube of bread should turn golden in about 20 seconds. This moderate temperature is key for tempura: oil that's too hot will color the batter before the delicate flower inside is heated through.
- 12
Mix the Tempura Batter Last (Keep It Cold and Lumpy)
Whisk the ice-cold sparkling water and egg yolk together, then sift in the rice flour, cornstarch, and salt. Stir just a few times until barely combined and still lumpy. Overmixing develops gluten and turns the coating dense and chewy instead of light and lacy.
- 13
Fry in Small Batches (60-90 Seconds Per Side)
Dip each chilled blossom into the batter, let the excess drip off, then lower gently into the hot oil. Fry 3-4 at a time for 60-90 seconds per side, turning once, until pale gold and crisp. The batter should stay light in color; a deep golden tempura crust is usually a sign of overcooking.
- 14
Drain on a Rack, Not a Plate
Lift the fried blossoms onto a wire rack lined with paper towel rather than stacking them flat, which traps steam and softens the crust. Season with a light pinch of salt right away, while they're still hot.
- 15
Plate with Coulis, Basil Oil, and Pine Nuts
Spoon or swoosh the chilled coulis onto each plate, arrange 3 fried blossoms per portion, drizzle with basil oil, and scatter the toasted pine nuts on top for color, crunch, and a final aromatic note.
The weekly recipe note
Enjoyed this recipe? Get the next one first.
One new recipe each week from Christophe: global flavor, French technique, and practical home-cook timing.
By signing up, you agree to receive emails from Mr. Saucy.
Tips & Tricks
You want to prep most of this before guests arrive:
Make the filling and coulis up to a day ahead - the filling actually improves with a longer chill. That leaves only the quick fry for right before serving.
Your courgette blossoms feel damp or wilted:
Pat them dry gently with paper towel before filling. Excess moisture stops the batter from clinging evenly and it can slide right off in the fryer.
You're not sure if the oil is hot enough:
Fry a small drop of batter alone first. If it sinks and stays down, the oil needs more heat; if it browns almost instantly, lower the heat a bit before adding the blossoms.
Your batter is losing its lightness while you fry in batches:
Set the bowl of batter over an ice bath while you work. Batter that warms up loses its crisp lift, so staying cold matters more than working fast.
You can't find courgette blossoms:
Use the same whipped goat cheese and coulis with tempura-fried baby courgette slices instead. It's a different format but keeps all the same flavors.
You want to prep most of this before guests arrive:
Make the filling and coulis up to a day ahead - the filling actually improves with a longer chill. That leaves only the quick fry for right before serving.
Your courgette blossoms feel damp or wilted:
Pat them dry gently with paper towel before filling. Excess moisture stops the batter from clinging evenly and it can slide right off in the fryer.
You're not sure if the oil is hot enough:
Fry a small drop of batter alone first. If it sinks and stays down, the oil needs more heat; if it browns almost instantly, lower the heat a bit before adding the blossoms.
Your batter is losing its lightness while you fry in batches:
Set the bowl of batter over an ice bath while you work. Batter that warms up loses its crisp lift, so staying cold matters more than working fast.
You can't find courgette blossoms:
Use the same whipped goat cheese and coulis with tempura-fried baby courgette slices instead. It's a different format but keeps all the same flavors.
Frequently Asked Questions
Can I prepare everything before my guests arrive?
Yes, that's the whole point of this recipe. Fill and chill the blossoms up to 24 hours ahead, and make the coulis and basil oil a day in advance too. The only step left for showtime is mixing the batter and frying, which takes about 10 minutes total for 12 flowers.
My tempura batter turned out dense and chewy - what went wrong?
This almost always comes from overmixing. Tempura batter should be stirred just enough to combine, leaving visible lumps of flour. Overworking it develops gluten strands, which is exactly what you want to avoid for a light, shatter-crisp coating rather than a bready one.
Where can I find courgette (zucchini) blossoms for this stuffed zucchini blossoms recipe?
Farmers' markets and specialty greengrocers are your best bet, especially in peak summer months. Some growers sell them still attached to a small courgette, which looks lovely on the plate and cooks in the same time as the flower alone.
Can I fry these ahead and reheat them?
Tempura is really at its best eaten within minutes of frying, since the crust softens as it sits. If you must reheat, use a hot oven at 200°C / 390°F for 3-4 minutes rather than a microwave, but expect a slightly less crisp result than fresh from the fryer.
Is there a way to make the coulis without a fine sieve?
A high-speed blender run for a full 2 minutes will get you close, but the sieve step really is what separates a home-style dip from a restaurant-grade coulis. If you don't have one, a very fine mesh strainer or even a clean muslin cloth will work in a pinch.
Can I substitute the goat cheese for something milder?
You can use a mild fresh cheese like ricotta blended with a touch of cream cheese for tang, but you'll lose the signature sharpness that balances the sweetness of the coulis. If using a milder cheese, add a little extra lemon zest to compensate.
Can I prepare everything before my guests arrive?
Yes, that's the whole point of this recipe. Fill and chill the blossoms up to 24 hours ahead, and make the coulis and basil oil a day in advance too. The only step left for showtime is mixing the batter and frying, which takes about 10 minutes total for 12 flowers.
My tempura batter turned out dense and chewy - what went wrong?
This almost always comes from overmixing. Tempura batter should be stirred just enough to combine, leaving visible lumps of flour. Overworking it develops gluten strands, which is exactly what you want to avoid for a light, shatter-crisp coating rather than a bready one.
Where can I find courgette (zucchini) blossoms for this stuffed zucchini blossoms recipe?
Farmers' markets and specialty greengrocers are your best bet, especially in peak summer months. Some growers sell them still attached to a small courgette, which looks lovely on the plate and cooks in the same time as the flower alone.
Can I fry these ahead and reheat them?
Tempura is really at its best eaten within minutes of frying, since the crust softens as it sits. If you must reheat, use a hot oven at 200°C / 390°F for 3-4 minutes rather than a microwave, but expect a slightly less crisp result than fresh from the fryer.
Is there a way to make the coulis without a fine sieve?
A high-speed blender run for a full 2 minutes will get you close, but the sieve step really is what separates a home-style dip from a restaurant-grade coulis. If you don't have one, a very fine mesh strainer or even a clean muslin cloth will work in a pinch.
Can I substitute the goat cheese for something milder?
You can use a mild fresh cheese like ricotta blended with a touch of cream cheese for tang, but you'll lose the signature sharpness that balances the sweetness of the coulis. If using a milder cheese, add a little extra lemon zest to compensate.
Recipe Reviews
No reviews yet — Be the first to review this recipe!
The collection
All recipesOlive Oil Chocolate Mousse Recipe with Candied Orange
This olive oil chocolate mousse recipe makes a rich but airy dessert with dark chocolate, fruity olive oil, bright candied orange, and crisp almond tuiles. A warm sugar syrup gives the yolks body, while softly whipped cream keeps the mousse light. Plan about 5 hours, including chilling, for 4 generous servings.
300 min · Intermediate · Fusion
Celeriac Ravioli with Brown Butter and Pear
This celeriac ravioli recipe makes 24 delicate pasta pillows filled with roasted celeriac, aged Comté, mascarpone and truffle. Roast the celeriac for deep flavor, then finish the ravioli in a glossy brown-butter sauce with pear, hazelnuts and sage. Plan on 145 minutes for 4 servings, including resting and chilling.
145 min · Intermediate · Fusion
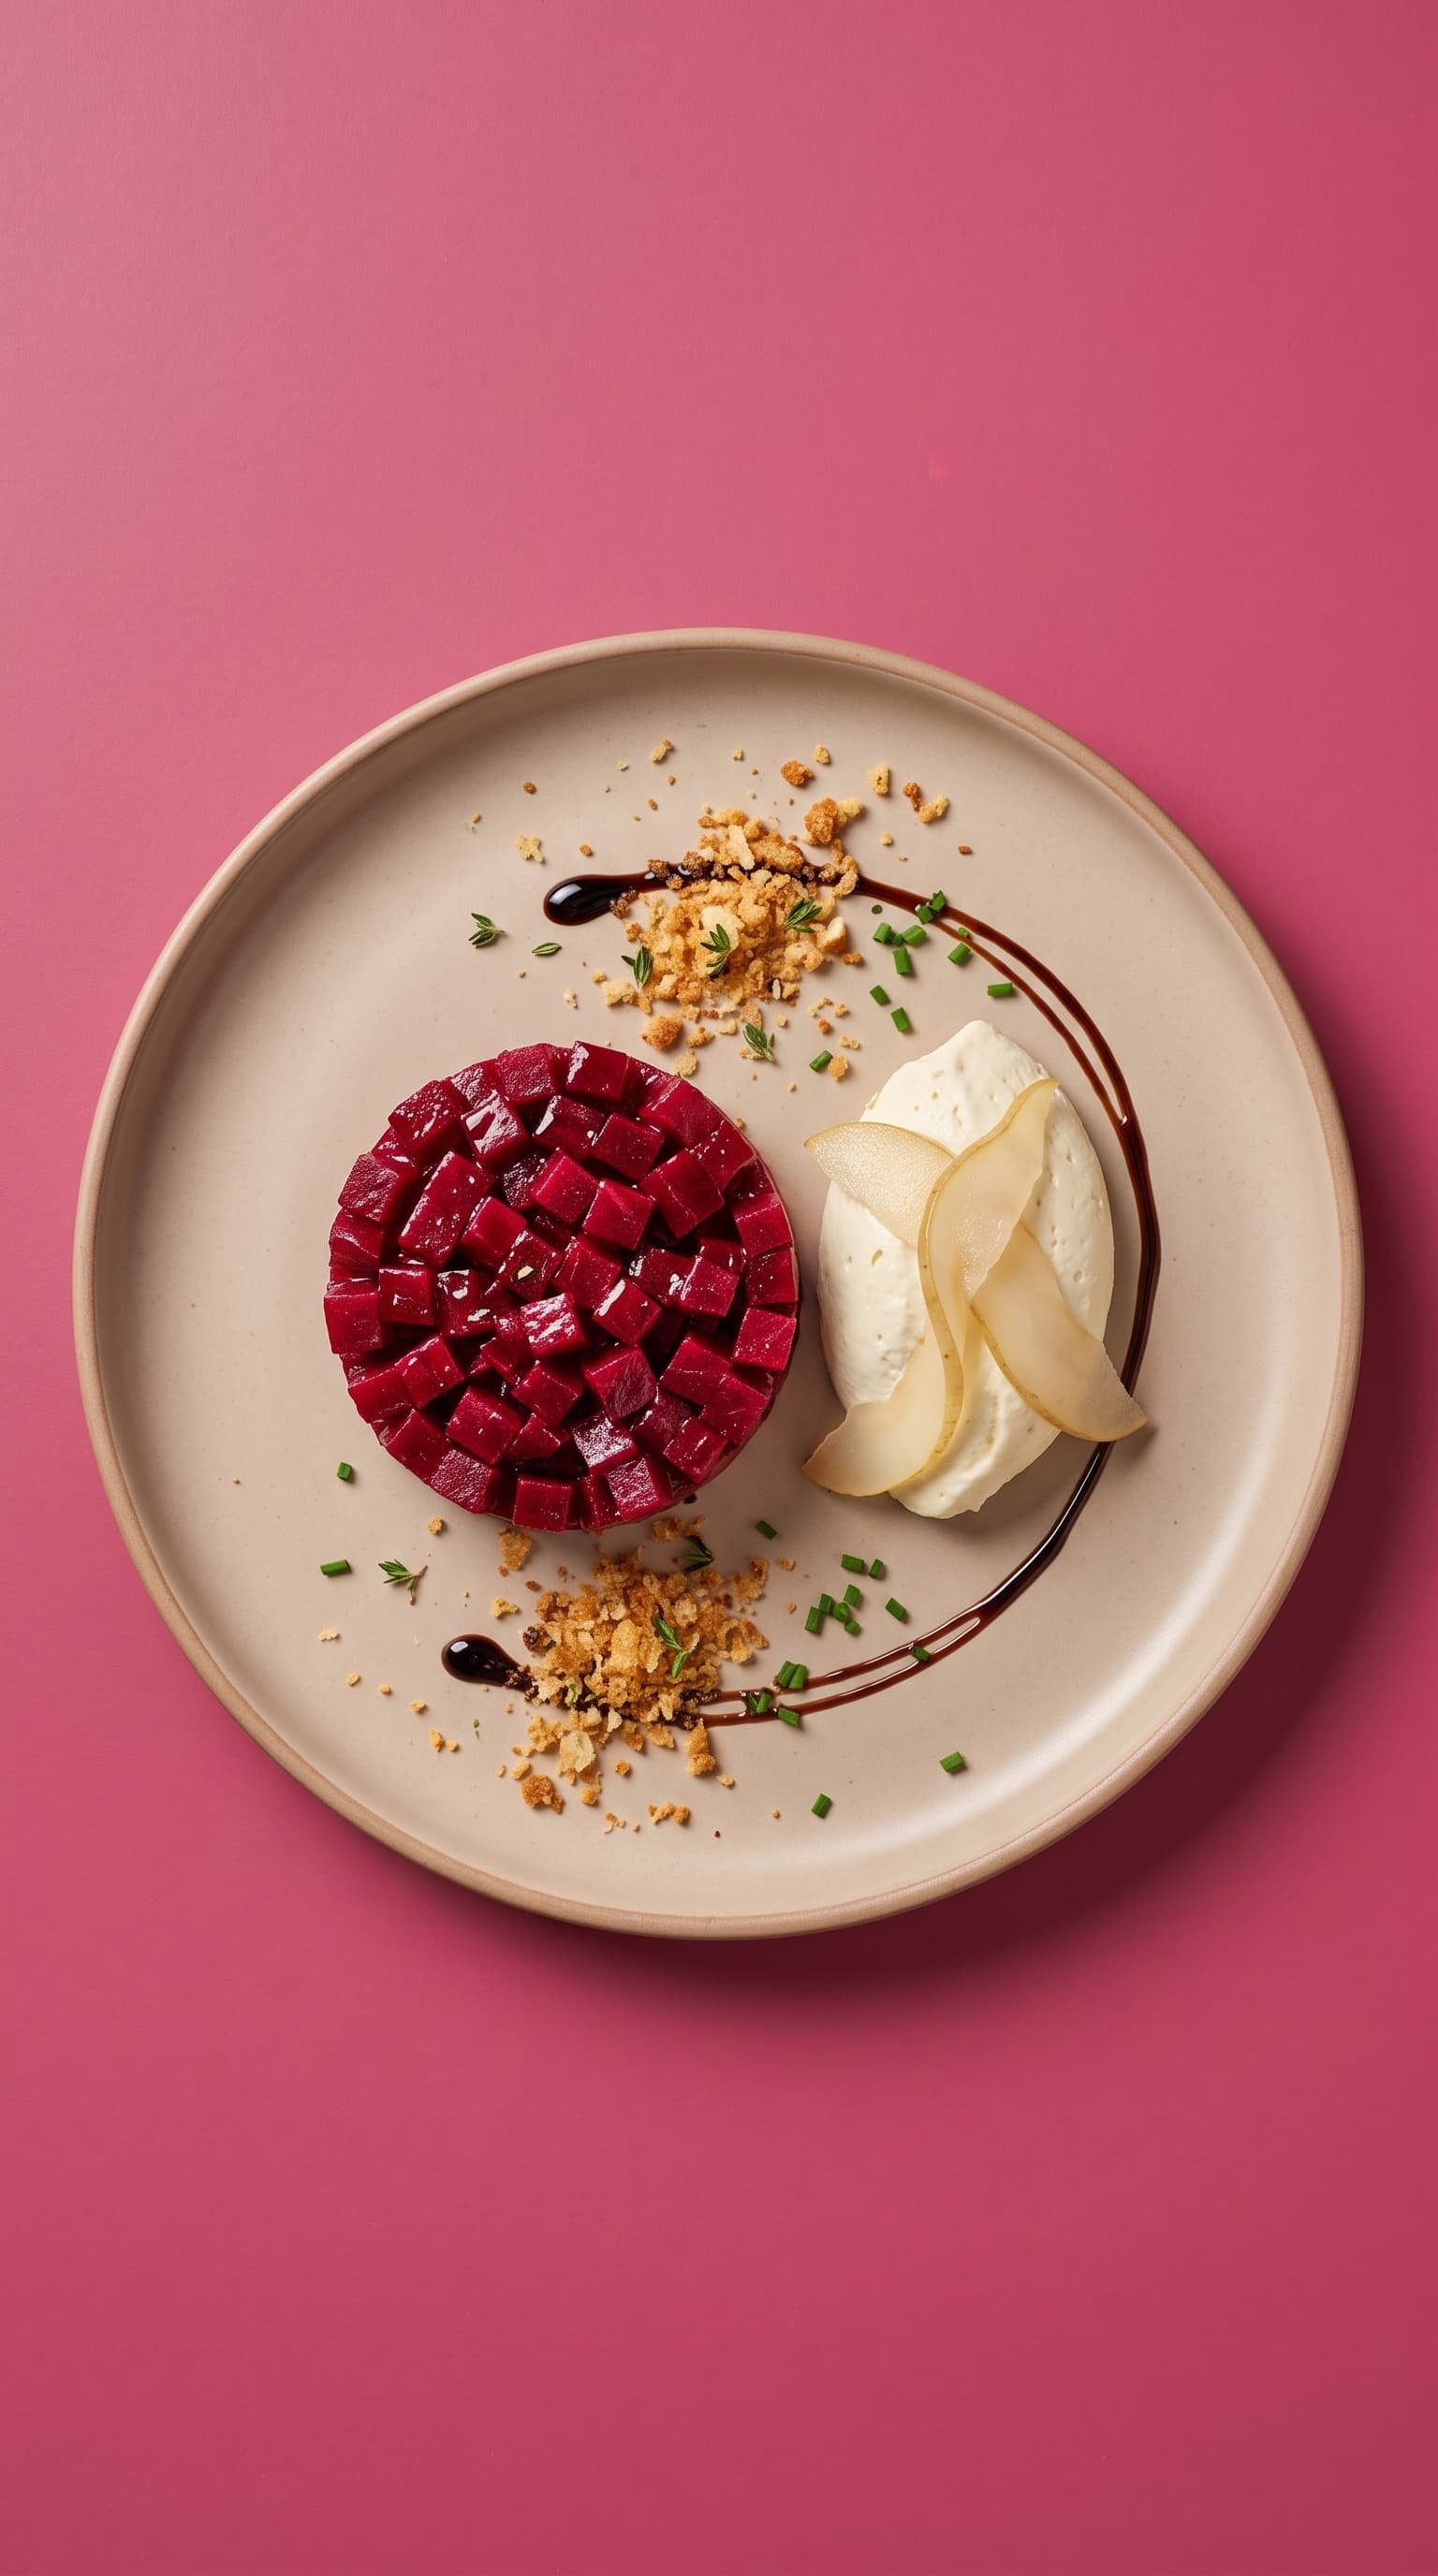
Beetroot Tartare Recipe with Whipped Goat Cheese
This beetroot tartare recipe turns sweet roasted beetroot into a bright, elegant appetizer for four. Cut the chilled beetroot into tiny cubes, dress it just before serving, and pair it with whipped goat cheese, pickled pear, and a buttery hazelnut crumb. Allow about 2 hours from roasting to plating.
120 min · Intermediate · Fusion